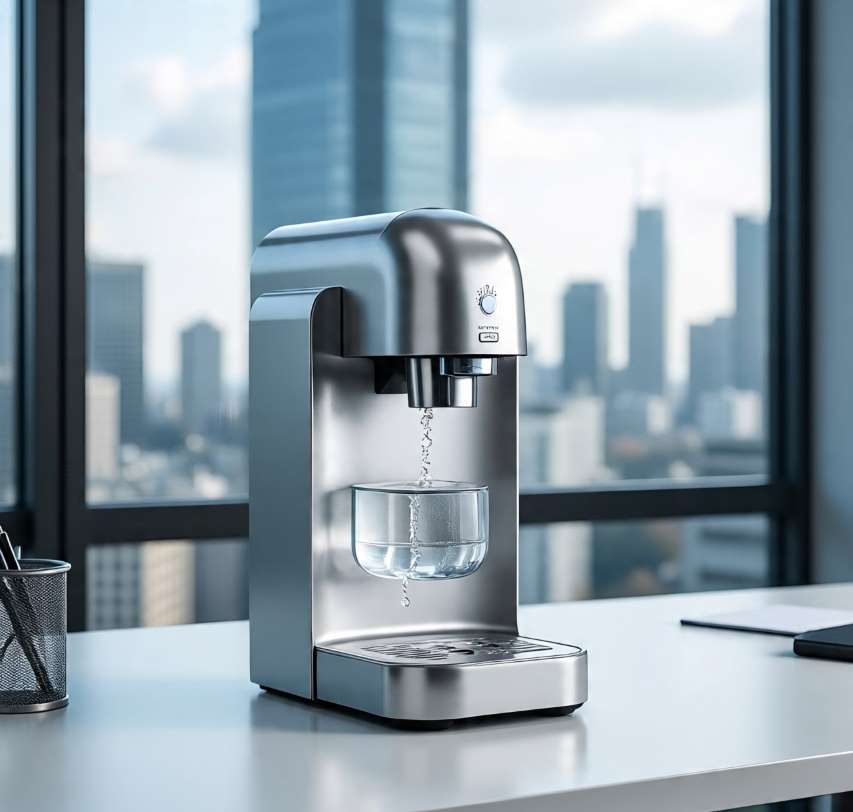
A desktop water dispenser is a compact and convenient appliance designed to provide clean drinking water directly on your desk, table, or countertop. Unlike traditional floor-standing dispensers, these smaller models are perfect for homes, offices, dorm rooms, clinics, hotels, and small shops where space is limited but easy access to water is essential.
In this detailed guide, we’ll cover how desktop water dispensers work, their features, types, benefits, installation steps, maintenance tips, and how to choose the right model for your needs.
How a Desktop Water Dispenser Works
A desktop water dispenser is designed to store, cool, and/or heat water depending on the model. The process is simple:
Water Source → It can use bottled water or be connected directly to a tap water source in some advanced models.
Cooling & Heating Systems → Most dispensers come with two built-in tanks:
Cold water tank → Uses a compressor or thermoelectric cooling to keep water chilled.
Hot water tank → Uses an electric heater to provide hot water instantly.
Dispensing Mechanism → With a push button, lever, or touch sensor, you can pour cold, hot, or room-temperature water effortlessly.
Some models even include filters for purifying water before dispensing, making them suitable for areas where water quality is uncertain.
Key Features of Desktop Water Dispensers
Compact and Space-Saving Design
Perfect for desks, countertops, and small spaces.
Lightweight and portable, making relocation easy.
Hot & Cold Water Options
Many models provide instant access to both hot and cold water.
Ideal for making tea, coffee, instant noodles, or enjoying a cold drink.
Easy Installation
Most units require no plumbing; simply place the water bottle on top or fill the internal tank.
Plug into a power outlet, and it’s ready to use.
Energy-Efficient Operation
Uses low power consumption for heating and cooling.
Some models have auto shut-off functions to save energy.
Safety Features
Hot water taps often include child-safety locks to prevent burns.
Built-in overheat protection ensures safer operation.
Sleek & Modern Designs
Available in various colors, materials, and finishes to match your home or office decor.
Types of Desktop Water Dispensers
Bottled Desktop Water Dispensers (Most Common)
Use standard 3–5 gallon water bottles placed on top of the unit.
Simple to set up and refill.
Bottleless (Direct-Pipe) Dispensers
Connect directly to a tap or purified water line.
Often include built-in filtration systems.
Perfect for offices or homes with consistent water supply.
Hot & Cold Combo Dispensers
Offer dual functionality for instant access to both hot and cold water.
Ideal for tea, coffee, and cold beverages.
Single-Temperature Dispensers
Provide either cold-only or hot-only water.
More energy-efficient and compact.
Benefits of Using a Desktop Water Dispenser
Convenience → Instant access to clean water without going to the kitchen.
Space-Saving → Ideal for small offices, rooms, and countertops.
Energy Efficiency → Consumes less electricity compared to large floor-standing units.
Cost-Effective → More affordable than full-sized dispensers and bottled water deliveries.
Improved Hydration → Keeps water easily accessible, encouraging regular drinking.
Versatility → Suitable for tea, coffee, soups, and cold drinks.
Step-by-Step Setup Guide
Step 1: Choose a Location
Place the dispenser on a flat, stable surface near an electrical outlet.
Avoid direct sunlight or heat sources to maintain cooling efficiency.
Step 2: Install the Water Bottle or Connection
For bottled dispensers: Place the bottle upside down on the top inlet carefully.
For direct-pipe dispensers: Connect the water supply hose securely.
Step 3: Plug in and Power On
Connect the power cord to an outlet.
Switch on heating and cooling functions if available.
Step 4: Dispense Water
Press the button or lever to enjoy cold, hot, or room-temperature water.
Maintenance and Cleaning Tips
Regular Cleaning → Clean the tanks and water outlet every 2 to 4 weeks to prevent bacteria buildup.
Replace Filters → For filtered models, change filters as recommended by the manufacturer.
Wipe the Exterior → Use a damp cloth to remove dust and stains.
Check the Water Bottle → Always use clean, sealed, and safe bottled water.
Unplug During Long Inactivity → If you won’t be using the dispenser for weeks, unplug it to save energy and protect the components.
How to Choose the Right Desktop Water Dispenser
When buying a desktop water dispenser, consider:
Size & Capacity → Choose based on available space and daily water needs.
Temperature Options → Decide if you need hot, cold, or both.
Power Consumption → Pick an energy-efficient model for long-term savings.
Filtration System → Essential if your water source isn’t already purified.
Design & Build Quality → Choose durable, easy-to-clean materials.
Budget → Models range from affordable basic units to premium advanced ones.
A desktop water dispenser is a practical, efficient, and stylish solution for anyone who wants quick access to clean drinking water in a compact space. Whether you’re at home, in an office, or a dorm room, these devices make hydration easier and more convenient.
With various options available — from basic cold-only models to advanced hot & cold filtered dispensers — you can find a perfect match for your needs, budget, and space.
 |  |  |
 |  |  |